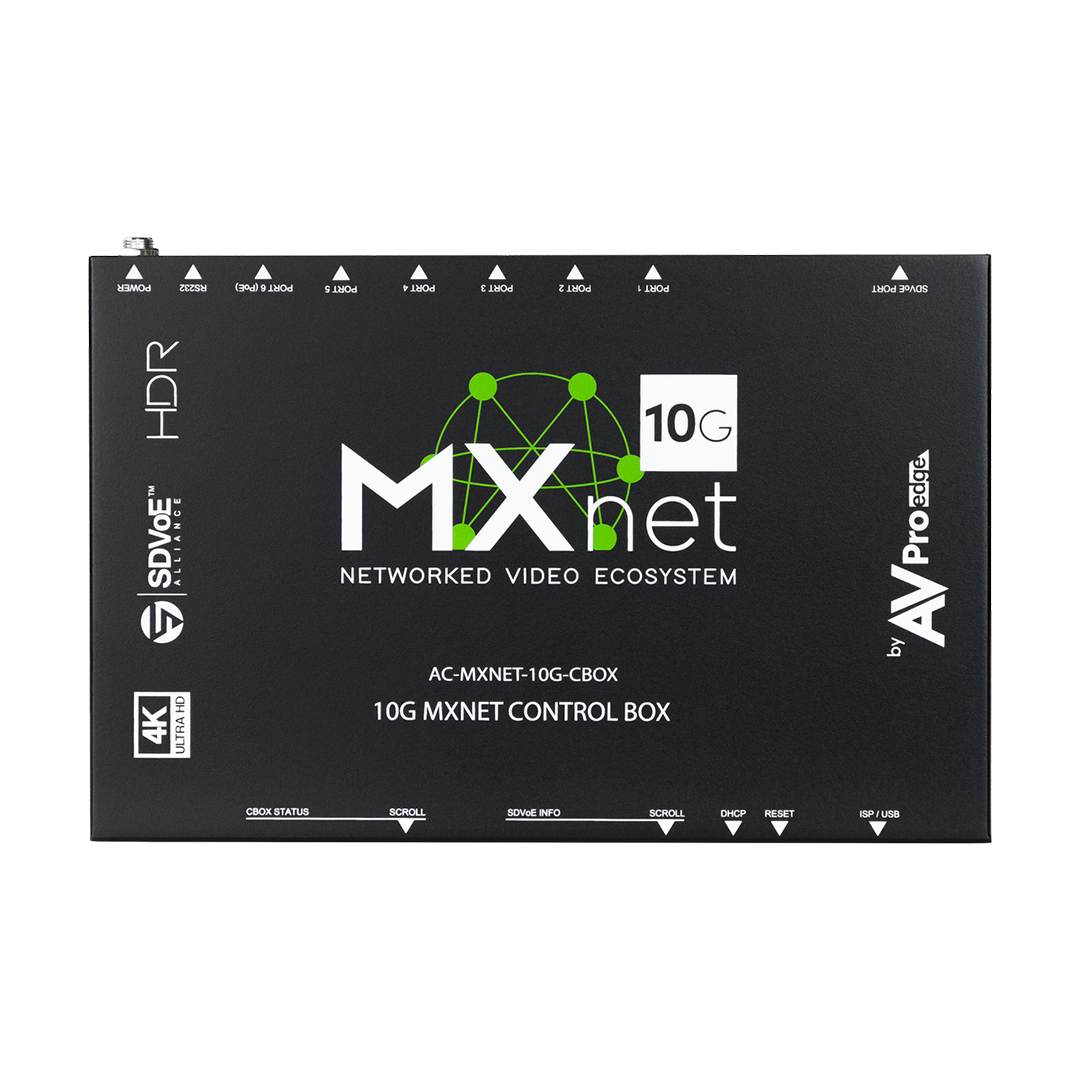
A static route allows devices to communicate on multiple networks. In most cases this is so you can use features like CEC, RS232, IR, Video wall and more with Just Add Power.
This step by step guide is designed for the Pakedge RK-1 Router.
Lets get started by logging into your router. Once in you will be at the main status page. Make sure your router is on the latest firmware.  Float your mouse at the top of the screen over the Network section Select Static Routes
Click Add New Item
Fill the boxes in with the information from JAD Config or the BlackWire Programming sheet Target IP Address: This is your J+P Network Scheme. Example 192.168.200.0 Target Network: This is your J+P Network Subnet Scheme. Example 255.255.255.0 Zone: Select this drop and and change it to LAN Gateway: This is your J+P Luxul Switch IP address. Example 192.168.1.55.  NOTE: The Pakedge router will have a drop down with all of the network devices on the lan. You may find the switch in this drop down and select it or go to the bottom and select custom and manually type the IP address.  Metric: This setting should be 10.  Once clicked click Apply at the bottom.
1. Confirm you see the newly created static route 2. This section also shows the new static route To test this enter the IP address of a JAP receiver into your browser. Example 192.168.200.130 ( if that is your JAP IP Scheme)  a JAP web page will load if your route is functioning. You are done. On to the next install!