AVPro MXNet 10G
Ultra-low latency HDMI 2.0 4K60 4:4:4 video distribution featuring lossless audio, control signal distribution over 10G ethernet using SDVoE.
ShopBlackWire strives to ensure dealers get the help they need when they need it. We have a phone system with multiple people answering the phones all day and our numbers posted on the website, a chat support system that is online during all business hours and often on late into the eveningas well as a ticket system which we reply to at night and on the weekends to. As we move into 2020 we are going to take these steps a bit further and are requiring you to update some aspects of your driver listings and instructions.This document will guide you through our requirements and instructions on how to enable them.
Driver Product Images:
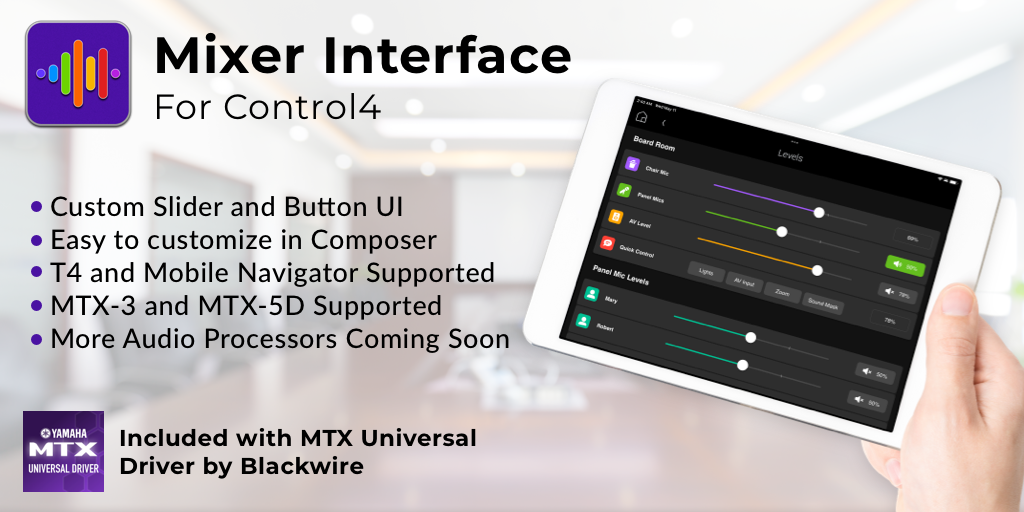
We have found the majority of product images on the site are low resolution pictures of products which is confusing and are oddly formatted. Our site prefers square images. Our product images are 2000px x 2000px I understand this is a very high resolution for a driver image so it may be best to do 1000px x 1000px and use your logo + a better image of the product or a way to express what the driver is for and then finished with a Control4 driver logo which we will provide to you in a button below.
Unique Names: Your screen shots should be named unique.
Example BWD-Ring-Step1.png
Image Sizes: Anything over 500KB most likely needs to be resized Image
Quality: Low resolution, pixelated images are a no go.
Logo: Feature Control4 Driver Logo
Download Control4 LogosAny external URL should be set to open in a new tab. This ensures dealers are not lead completely away from the BlackWire site.
This is the main page showing the UX lay out and preview of your page with the current tabs on the left
This example shows a completed driver setup tab. There are multiple rows with titles and text. Each row then has additional items in them.
This is a break down of a single row. There are the following items:
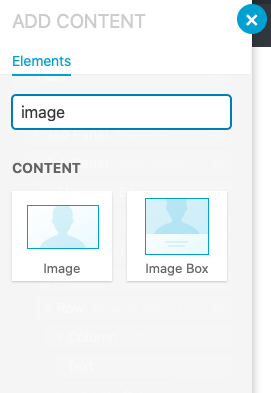
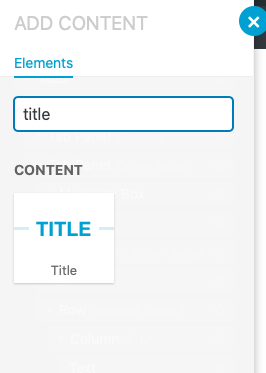
There are 4 main elements you will use and you can search for them on the left column if they are not visible (or scroll down and find them)
A column has 12 space available. So in the example above the left column is designed to be smaller since its just basic text allowing the image to be slightly bigger using 7 of the 12 spaces.
IMPORTANT: If you are copying text from another website and pasting it, ensure you are not adding a bunch of random CSS to your listings that belongs to that page. IE clean HTML only.
Here are the elements you will use

Click here to register an account
Registration is easy and should only take a minute to fill out the form.