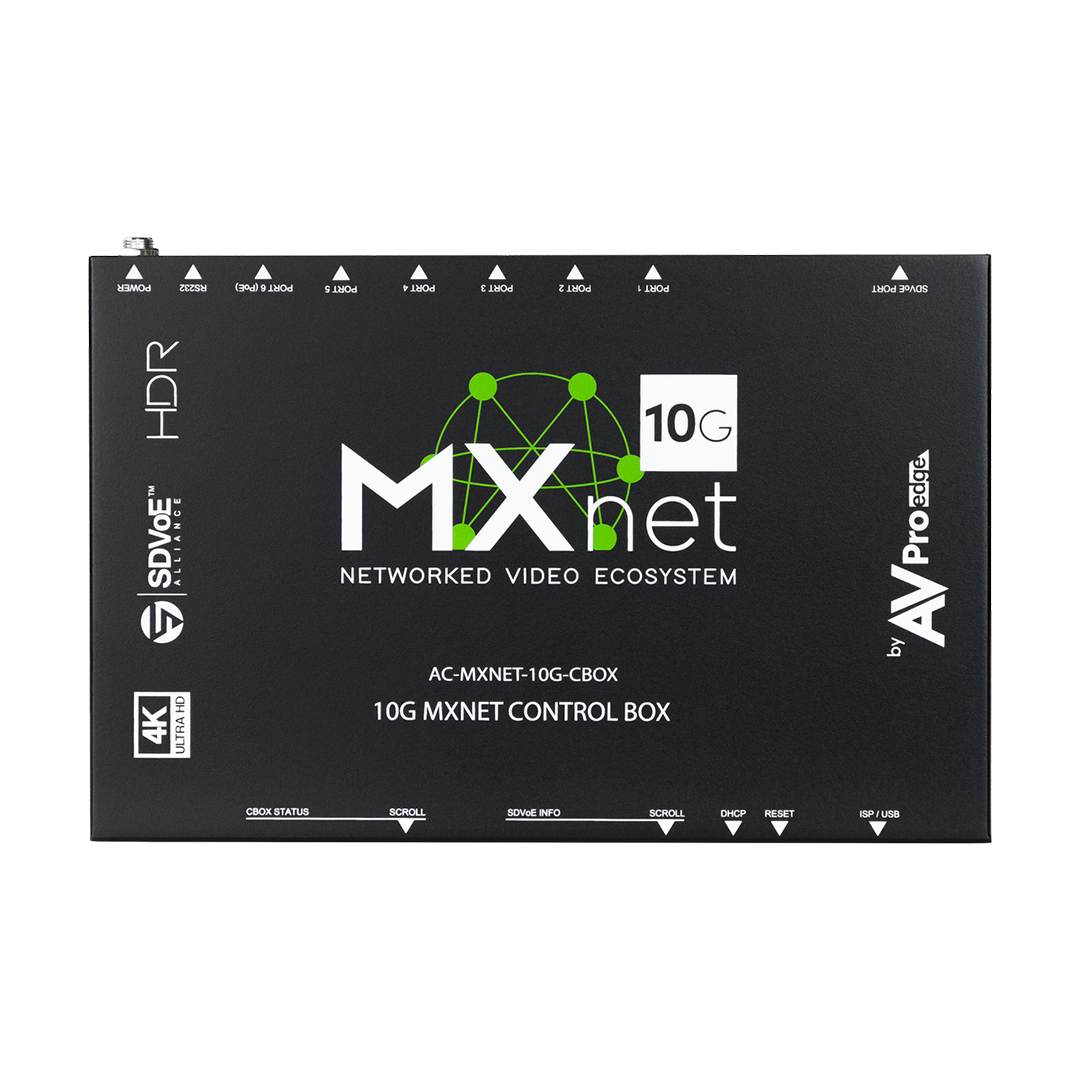
AVPro MXNet 10G
Ultra-low latency HDMI 2.0 4K60 4:4:4 video distribution featuring lossless audio, control signal distribution over 10G ethernet using SDVoE.
ShopA static route allows devices to communicate on multiple networks. In most cases this is so you can use features like CEC, RS232, IR, Video wall and more with Just Add Power.
This step by step guide is designed for Araknis Routers. The screen shots below are based on from the AN-310 Router.
Log into your router
1. Click Advanced
2. Click Static Route

Scroll down to Static Route Table and click the button that says Add Static Route

Using your BlackWire Programming sheet or JAD Config output locate the following information:
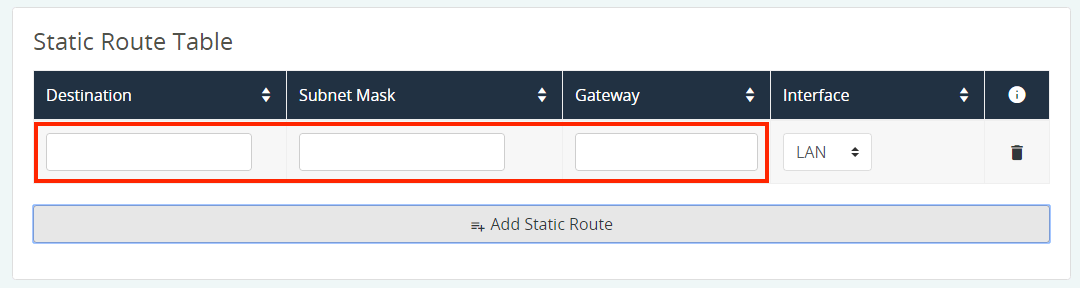
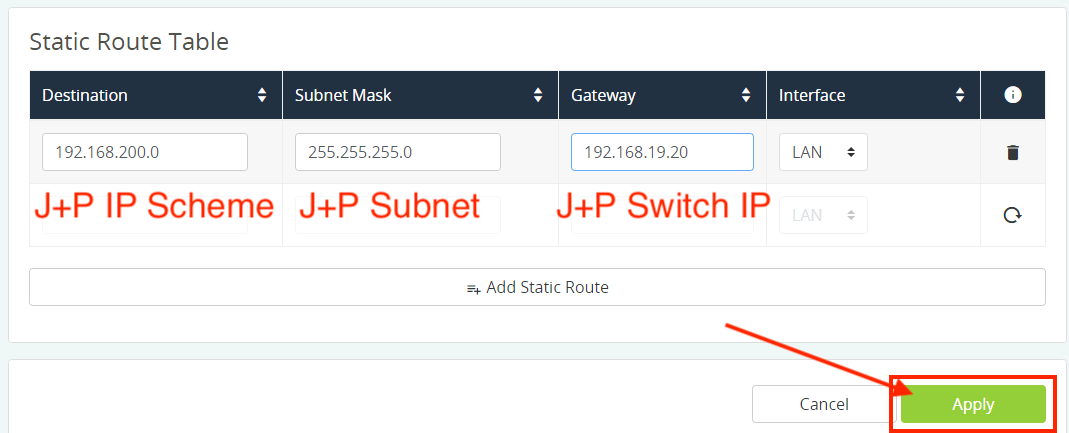
This is an example of a J+P system on the 192.168.200.0 IP scheme and the Luxul switch on 192.168.19.20 IP address. Your system will be different.
Once you fill in the information click Apply
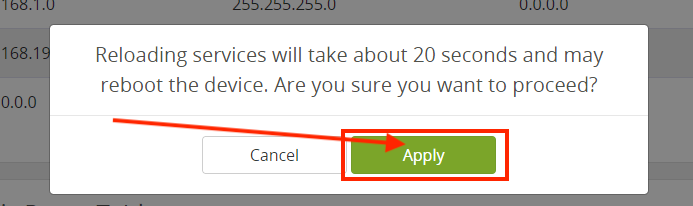
A pop up will appear asking you to apply the changes and reboot the router. Click Apply
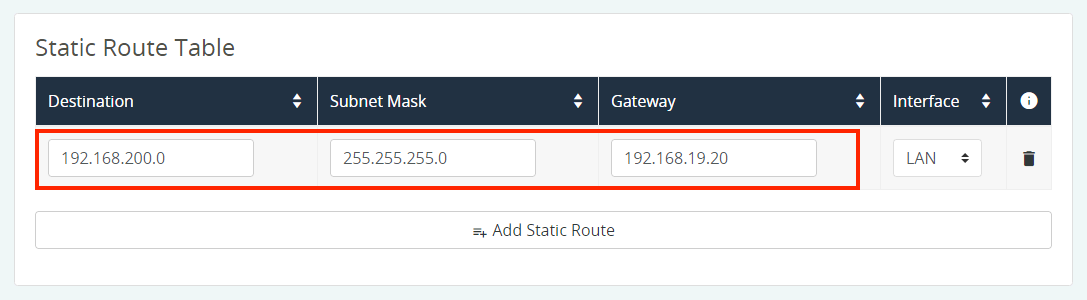
Once the router is finished loading confirm your settings are still there by going to Advanced – Static Route then scrolling down and viewing the information.
To test that your static route is working type in the IP address of a Just Add Power device and make sure the devices web page loads.
Click here to register an account
Registration is easy and should only take a minute to fill out the form.