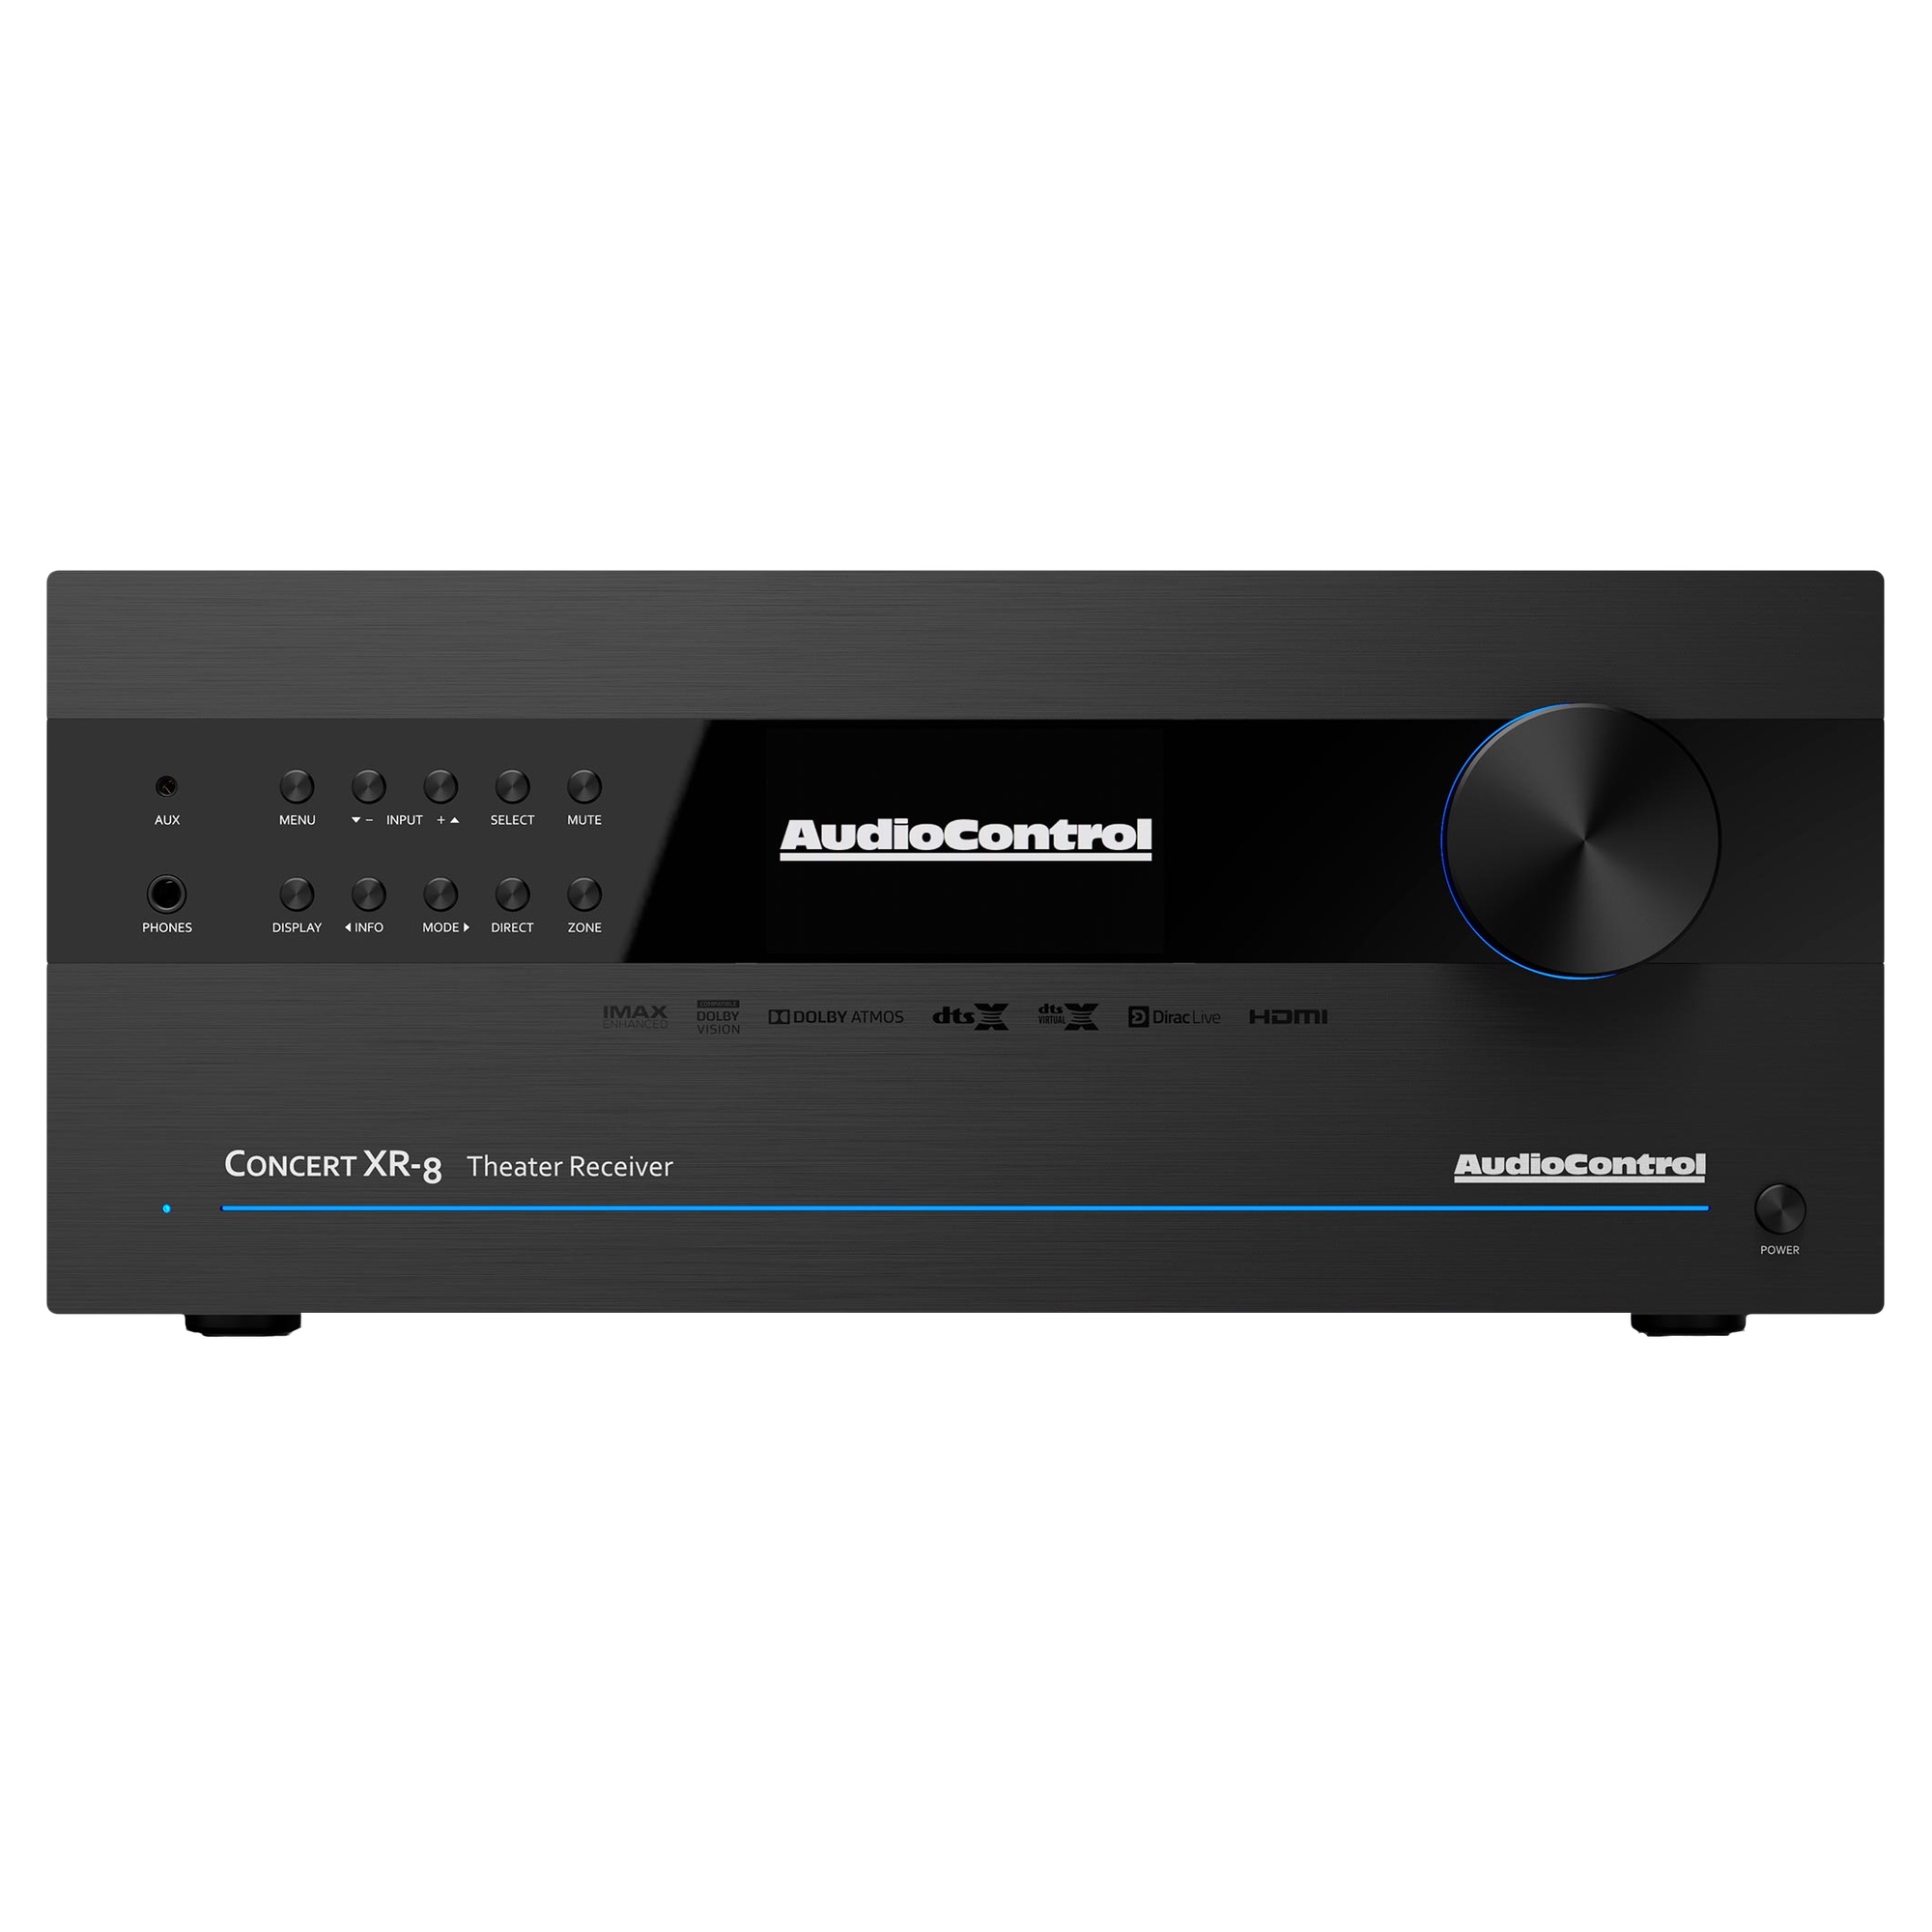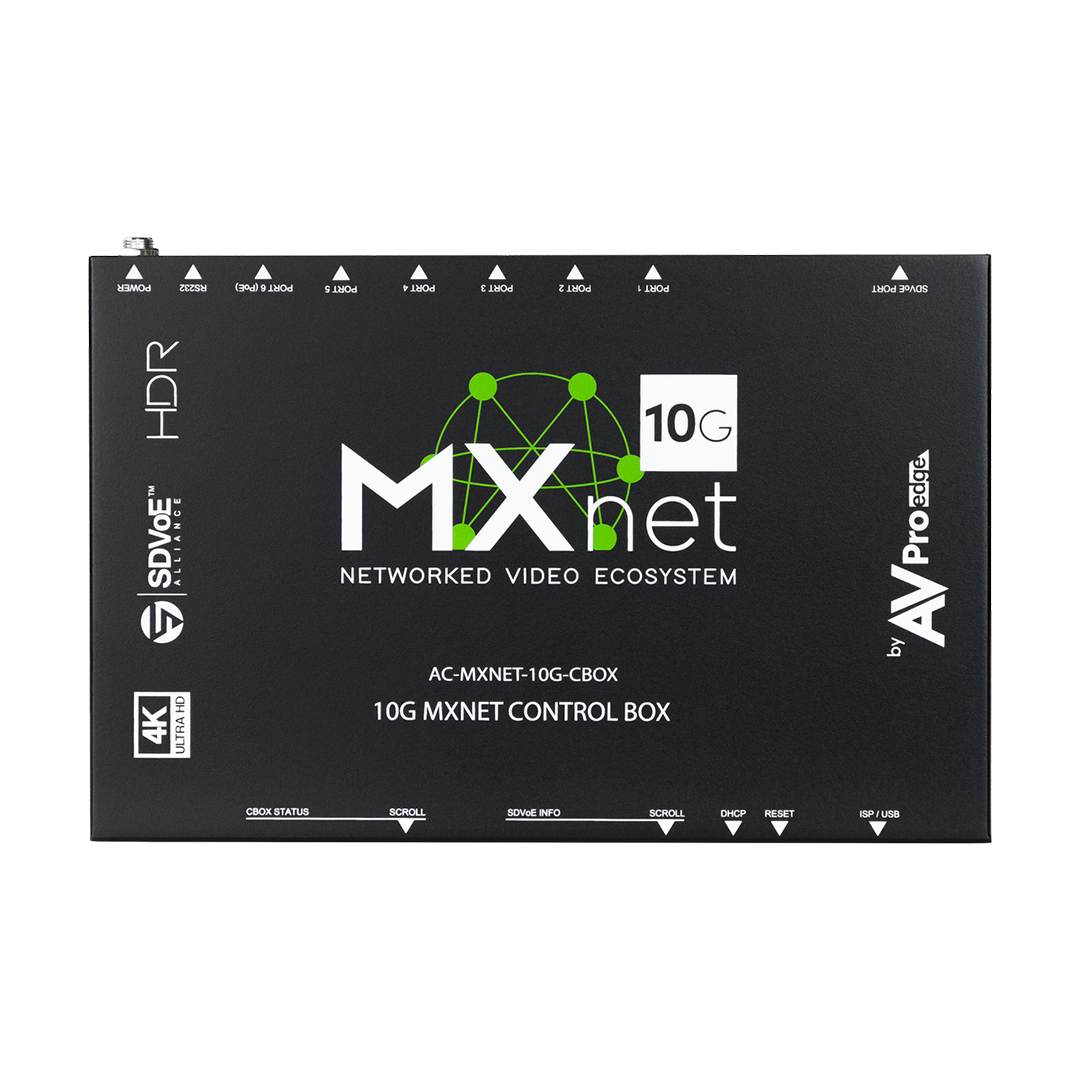
AVPro MXNet 10G
Ultra-low latency HDMI 2.0 4K60 4:4:4 video distribution featuring lossless audio, control signal distribution over 10G ethernet using SDVoE.
Shop
This guide will walk you through the initial quick-start wizard for setting up a new Ruckus Unleashed system. This is the very first guide for Ruckus Unleashed. Please see the Ruckus Unleashed Best Practices guide for complete setup and optimization.
The images in this guide are dated 11/23/2021 and are based on the 200.10.x.x Unleashed Firmware versions. The GUI Images may differ slightly from your own. Please check the main Blackwire Ruckus 101 page for the current recommended and supported firmware version.
Be sure to check the Blackwire Ruckus 101 main page frequently for the Blackwire recommended and supported firmware version. If you are using a different version, your view of the Unleashed Web UI and your network performance may differ slightly.
IMPORTANT NOTE: *Blackwire does not recommend using the Unleashed Mobile App, the Configure.Me SSID or other setup SSIDs, the “unleashed.ruckuswireless.com”, or the factory default IP address. Use a DHCP server to give the AP an IP address, scan the network, and use the Web HTTPS Based GUI for the best results.
IMPORTANT: Turn off the wifi on your computer and plug directly into the network switch or router. You will be doing multiple settings changes and trying to do this over wifi will be a frustrating experience and lead to issues.
IMPORTANT: Set up the first AP and finish our instructions COMPLETELY before you add additional APs to the network or start joining client devices to the WiFi. Joining APs or client devices to a partially set up wifi system could result in AP firmware errors, or even certain devices blacklisting each other and refusing to stay connected.
The first access point you hook up will become the Master Access Point. This AP will run the Unleashed Software and manage the rest of the devices. It is important to set up the Master AP first by itself, without plugging in any additional Access Points yet. Because the Master AP will be doing more work than the other AP’s in your system, it is best to install the Master AP in a low-traffic location.
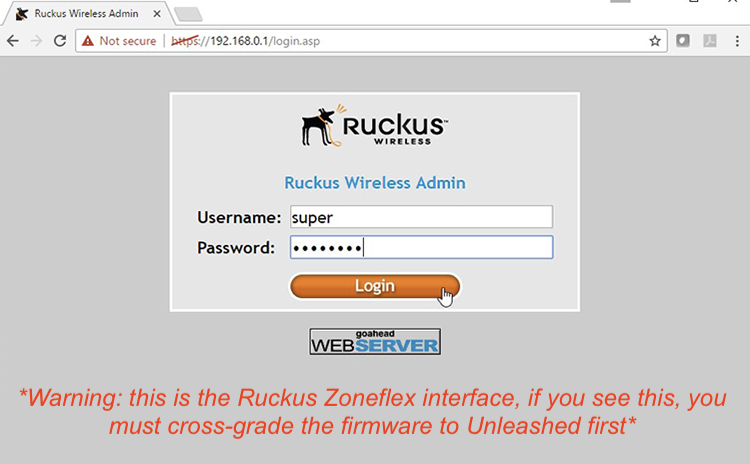
Plugin the first AP and give it about 5 minutes to boot up. Run an IP scan of your network with a program like Angry IP Scanner for PC (or LanScan for Mac OS) to find the new Access Point’s IP address and MAC address. Open a web browser, and log into the Master AP typing its DHCP IP address in like this – https://ipaddress
Note: you must use https://, not http://, or you will not be able to connect to the system.
Pro Tip: Write down the last 4 digits of the MAC addresses and the Location of each Access Point before you install them in place. You will need this later… especially if something goes wrong.
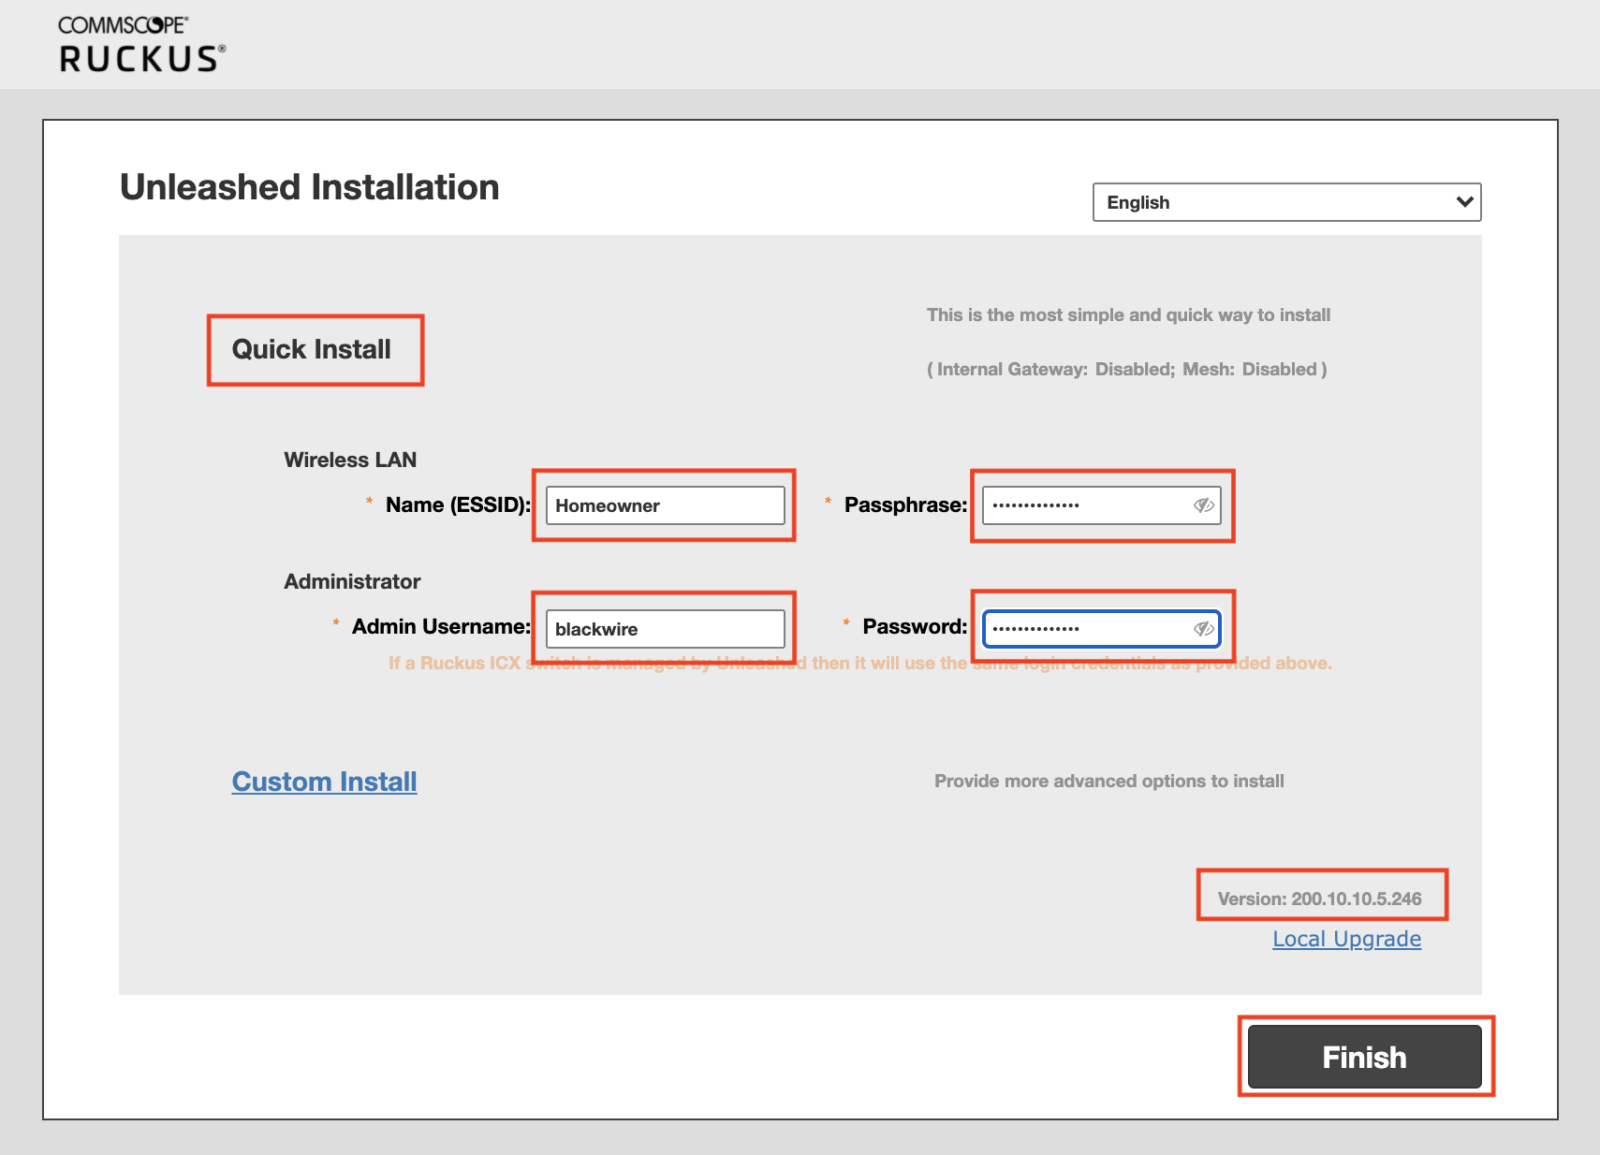
The new Unleashed Access Point will load the Unleashed Setup Wizard. If you can not reach the AP, you may need to reset it with a paper clip, but first: Clear your browser cache and follow the instructions for Clearing the Arp Cache on Your Computer

On the pop up window that says “Unleashed will restart…” hit the Yes button to continue. This will reboot the system.
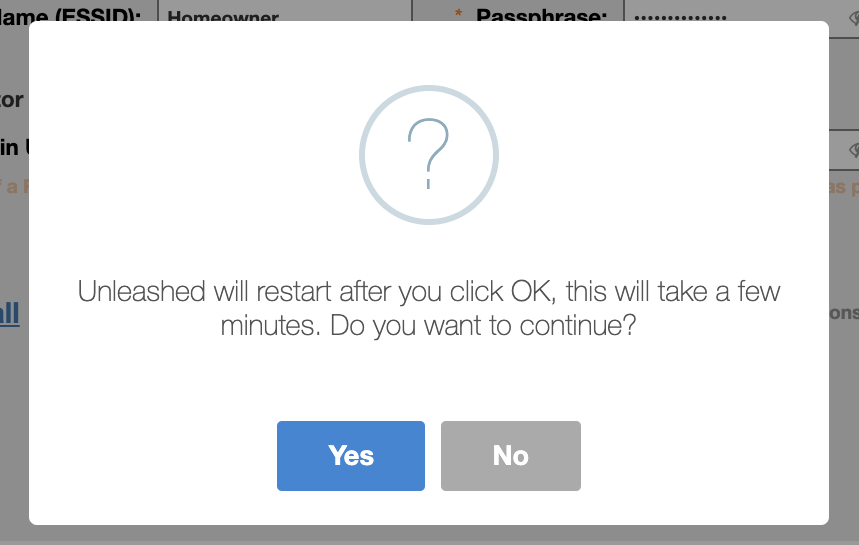
Do not navigate away from your browser or interrupt the update and reboot process. If you need to multitask, use another device: navigating away from this page can corrupt the firmware and freeze the AP.

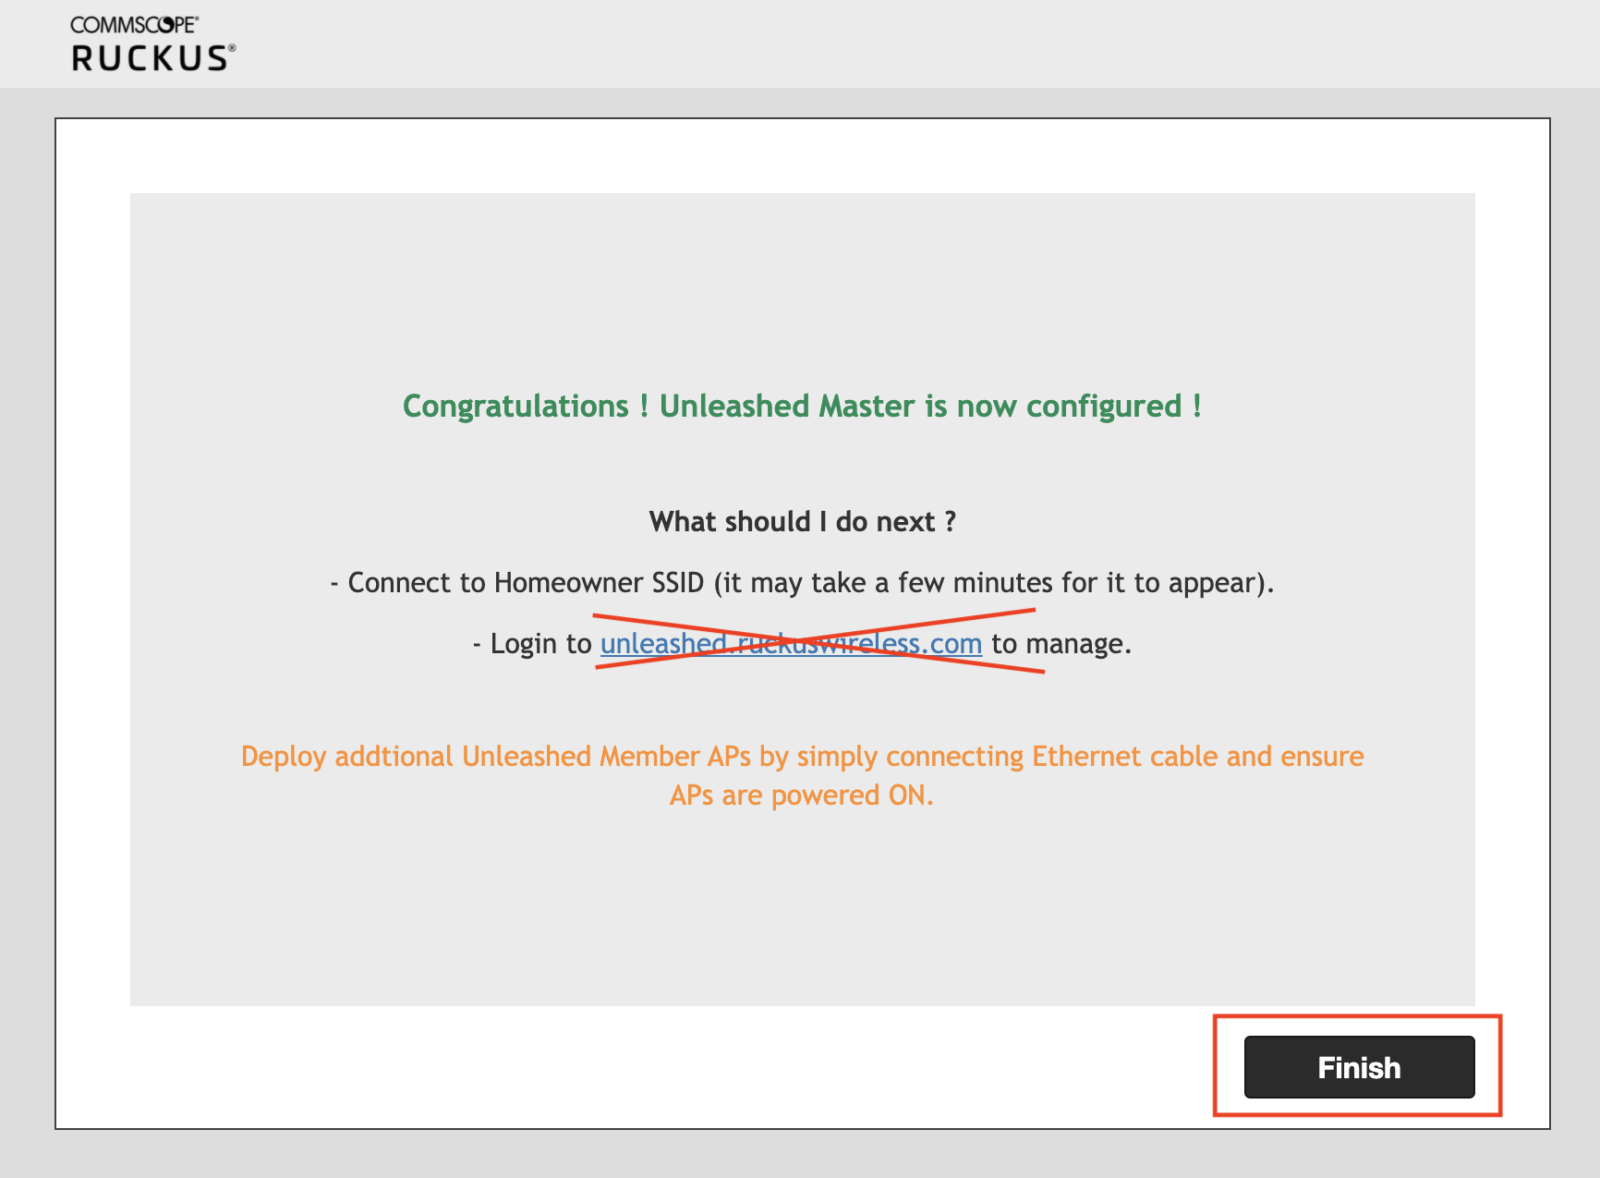
When the setup wizard is complete you will see this page. We do not recommend clicking the button that says “Login to unleashed.ruckuswireless.com to manage”, this function is not always reliable.
*Note: If you still have issues connecting to the new AP with its DHCP IP Address, clear your arp table, and clear your browser cache or use an incognito browser window. Instructions for clearing your arp cache here: INSERT LINK FOR ARP INSTRUCTIONS*

Please continue on to the Blackwire Ruckus 101 – Ruckus Unleashed Best Practices Guide for instructions on how to create additional WLANs and optimize your setup
Best Practices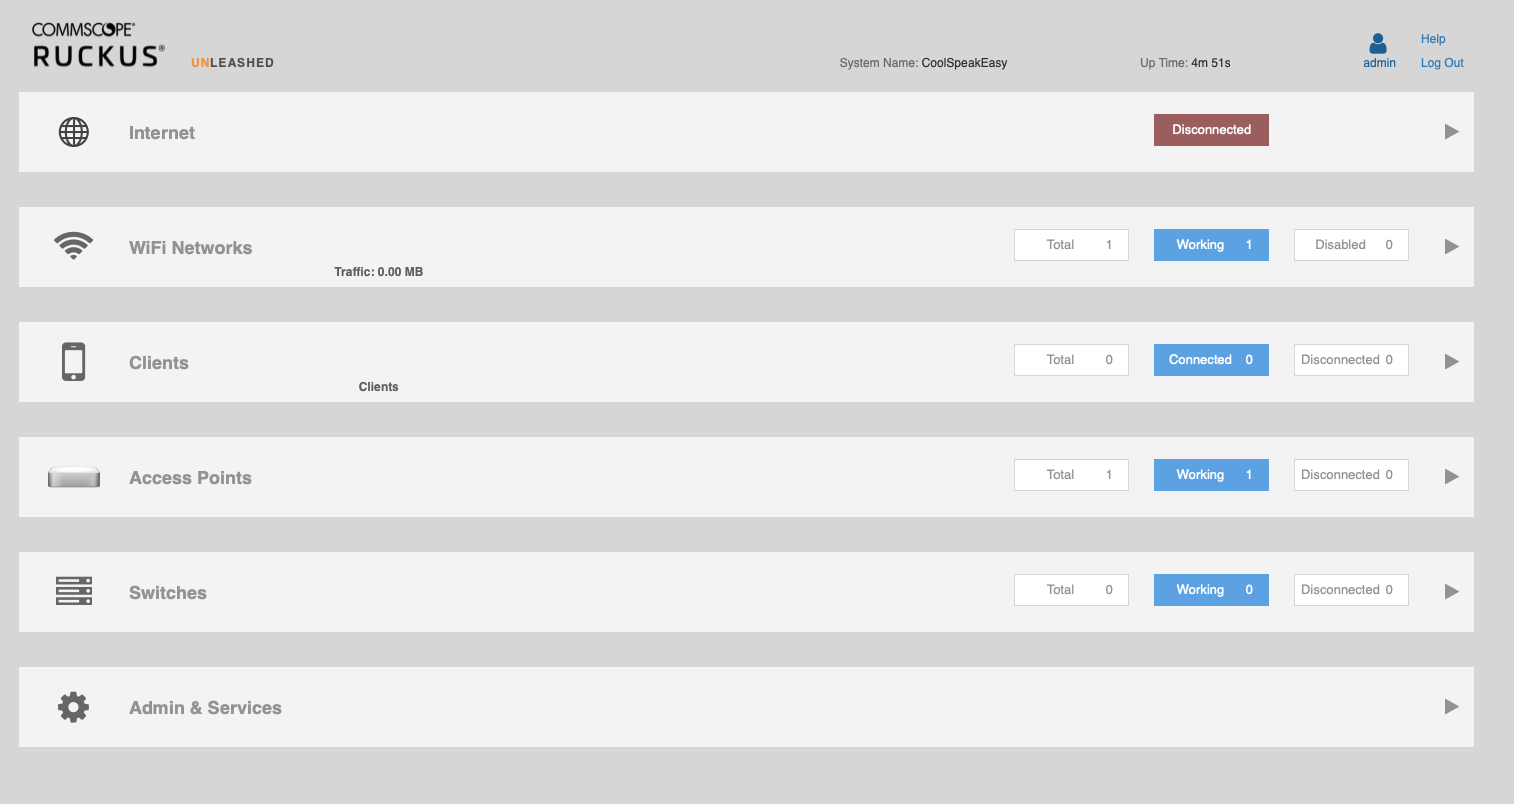
Click here to register an account
Registration is easy and should only take a minute to fill out the form.